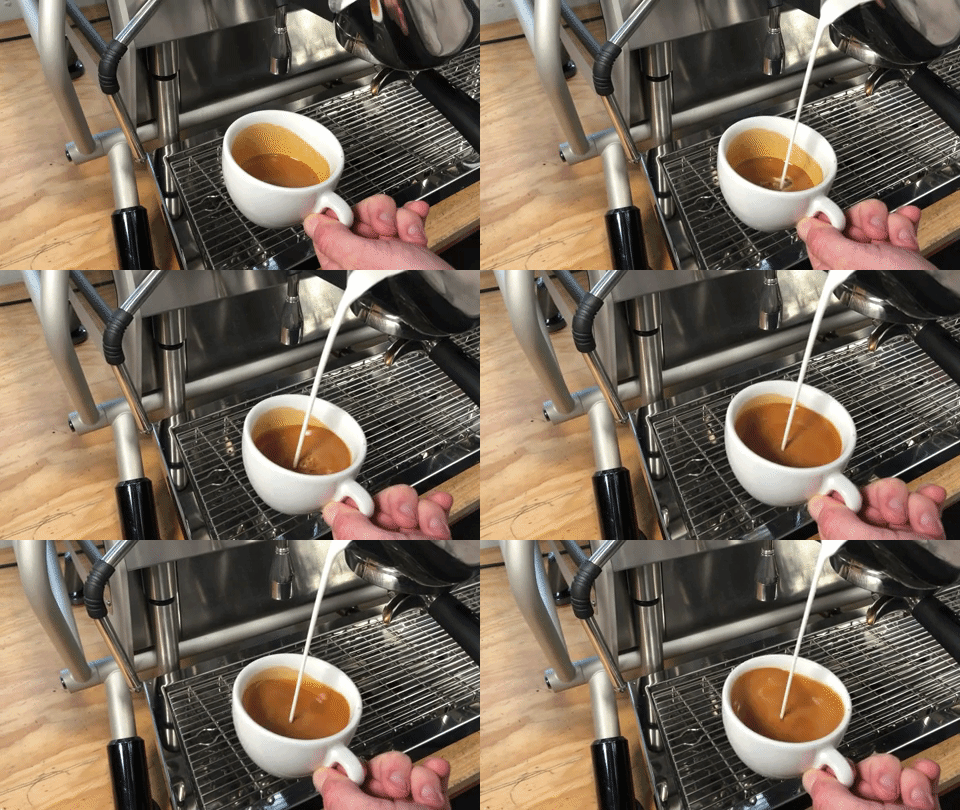
1. Spinning — 1:1 Blending
After pouring your espresso and steaming your milk, we recommend combining equal amounts of espresso and milk. This act of blending requires you to estimate volumes, which will take some practice. This 1:1 blending ratio gives a balance between sharp contrast, workflow efficiency, and good flavour. Keep the cup completely horizontal until liquid reaches the halfway point. This makes it much easier to spin the espresso and milk together without spilling anything. By spinning, we mean swirling the cup to produce a shallow whirlpool.
After combining the espresso and milk, you will have approximately 60 millilitres of liquid in the cup, about one-quarter of the way through pouring an ordinary latte. You can’t commence any work on your design until the cup is at least half full. Using the pin-drop technique after your initial spinning will enable you to continue filling the cup without changing the colour of the background.
Note: The stop-and-start technique we describe in this lesson results in a less-efficient café workflow. If you’re working in a commercial setting, pauses in your workflow should be kept to a minimum. However, for newcomers we advocate this staggered approach, as the pauses allow you to reset your cup and pitcher positions. The stepped process makes the learning easier. You’ll eventually remove the pauses from your workflow as you grow in confidence.
2. Vortexing

Vortexing is faster but a slightly more challenging technique that can also solve the problem of snail trails. It requires some practice, as it calls upon the same level of motor control needed to successfully tap your head and rub your stomach at the same time.
It’s the motion of spinning the cup vigorously with one hand whilst pouring into the centre of the whirlpool created by the other. Pouring additional milk into the centre of the whirlpool ensures the white milk will not settle on the top of the drink. The direction of the flow in a whirlpool trends downwards.